HUD and Ammo in UE4
In the current project for the HUD to be achieved it had to have some new pieces of blueprints added to allow the HUD to be accurate to show how many bullets you currently have. This was achieved multiple ways but first I will go through the new bullet system implemented what the HUD utilizes in the game.
Ammo
The game requires you go through the level with only 7 bullets, the bullets are used to make stealth easier and to also help solve some puzzles throughout the game. This was achieved by editing the blueprints in the template to basically count down till it hit zero then stop accepting the firing input.

Image of new blueprints added to the existing template code
This new blueprint gets the Ammo component and will always check to see if it's higher than the value of 0 as long as it's above 0 the condition will stay true but each time the gun fires -1 bullet is taken and then it will update the value of the ammo component till the condition reaches false. This value is also tied to the HUD what will be explained in more detail next.
HUD
The HUD in an FPS game is essential since it tells the player important information like how much ammo they have and what other equipment they also currently have at that point in time. For this FPS project only the ammo is needed to be displayed at this point in time so in order for this to be achieved a new widget blueprint must be made. This can be found by right clicking in the asset menu and going down to the "User Interface" tab. The first thing what will be done is making the general look of the HUD to fit in with the game, you can use simple text or import images you have made yourself, in this case I used a custom made image.

Image of the HUD in Designer Mode
Once done in designer mode you can move onto the graph to start adding blueprints to the UI but before that something new was made in order to get this to work and that is a custom class called "Hud Values". To make this I made a "Blueprint Interface" this can be found by right clicking and going to the blueprints tab. In here you just need to specify what your new class will hold, in this case you need Ammo and Max Ammo to be enabled.
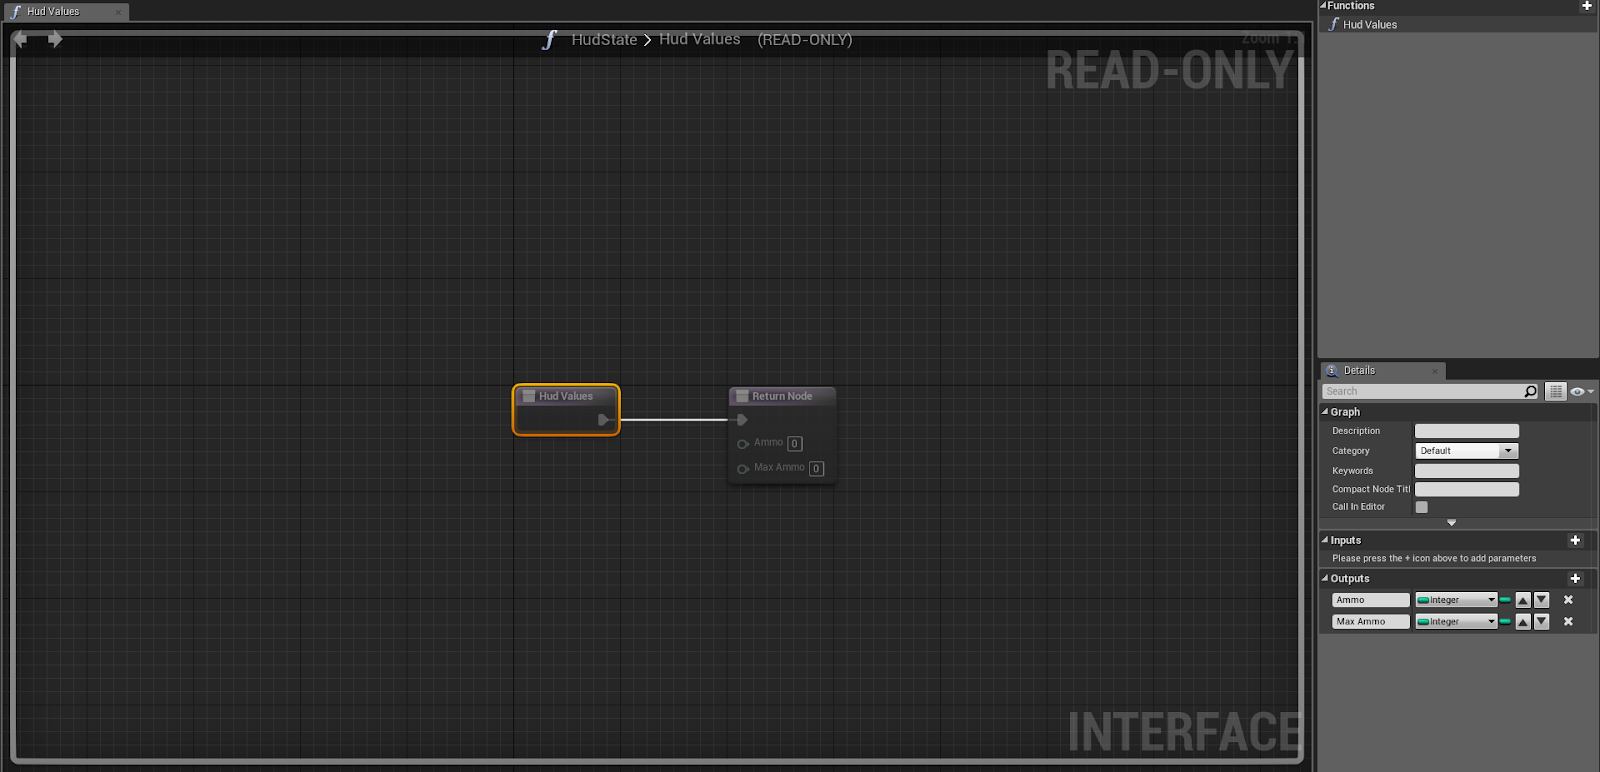
Image of the Blueprint Interface being made
For this I would have to specify that Ammo and Max Ammo are integers and that is all you really have to do, from there I specified what they are linked too in the "FirstPersonCharacter". The ammo and max ammo from the FPS character would have already been specified before if ammo was coded you would just have to call them and connect them to the hud values to make it possible to it to be called on the screen and update accordingly.

Image of Hud values being connected with the FPS character's ammo and Max Ammo
Now that is done the final part can be possible and that is enabling the player to see the HUD, for this I went into the Levels Blueprint what can be found by going into the bar above the viewport when making the level and going into the blueprint tab and selecting "Open Level Blueprints" and from there you just have to add some blueprints to enable view for the player.

Image Showing how to enable the HUD to be viewed in game
After that the HUD should be viewable in the game and will fully update accordingly when firing.

Comments
Post a Comment